

This blog is for our current SMM students to explain the proper procedures for posting a blog the Social Media Magnet way. This should help you get the most out of your blogs and social media posts as you direct traffic from the social channels back to your website, as instructed by the Social Media Magnet model. Note, if you have access to both classic editor and block editor (like CoBlocks), be sure to use CLASSIC EDITOR for your blog posts. This will make your blogs flow much better on page and not break up content on mobile in ways that you did not desire. So let’s begin:
Step 1: Title your blog – Make sure that your URL link is exactly the same as the title before you publish.
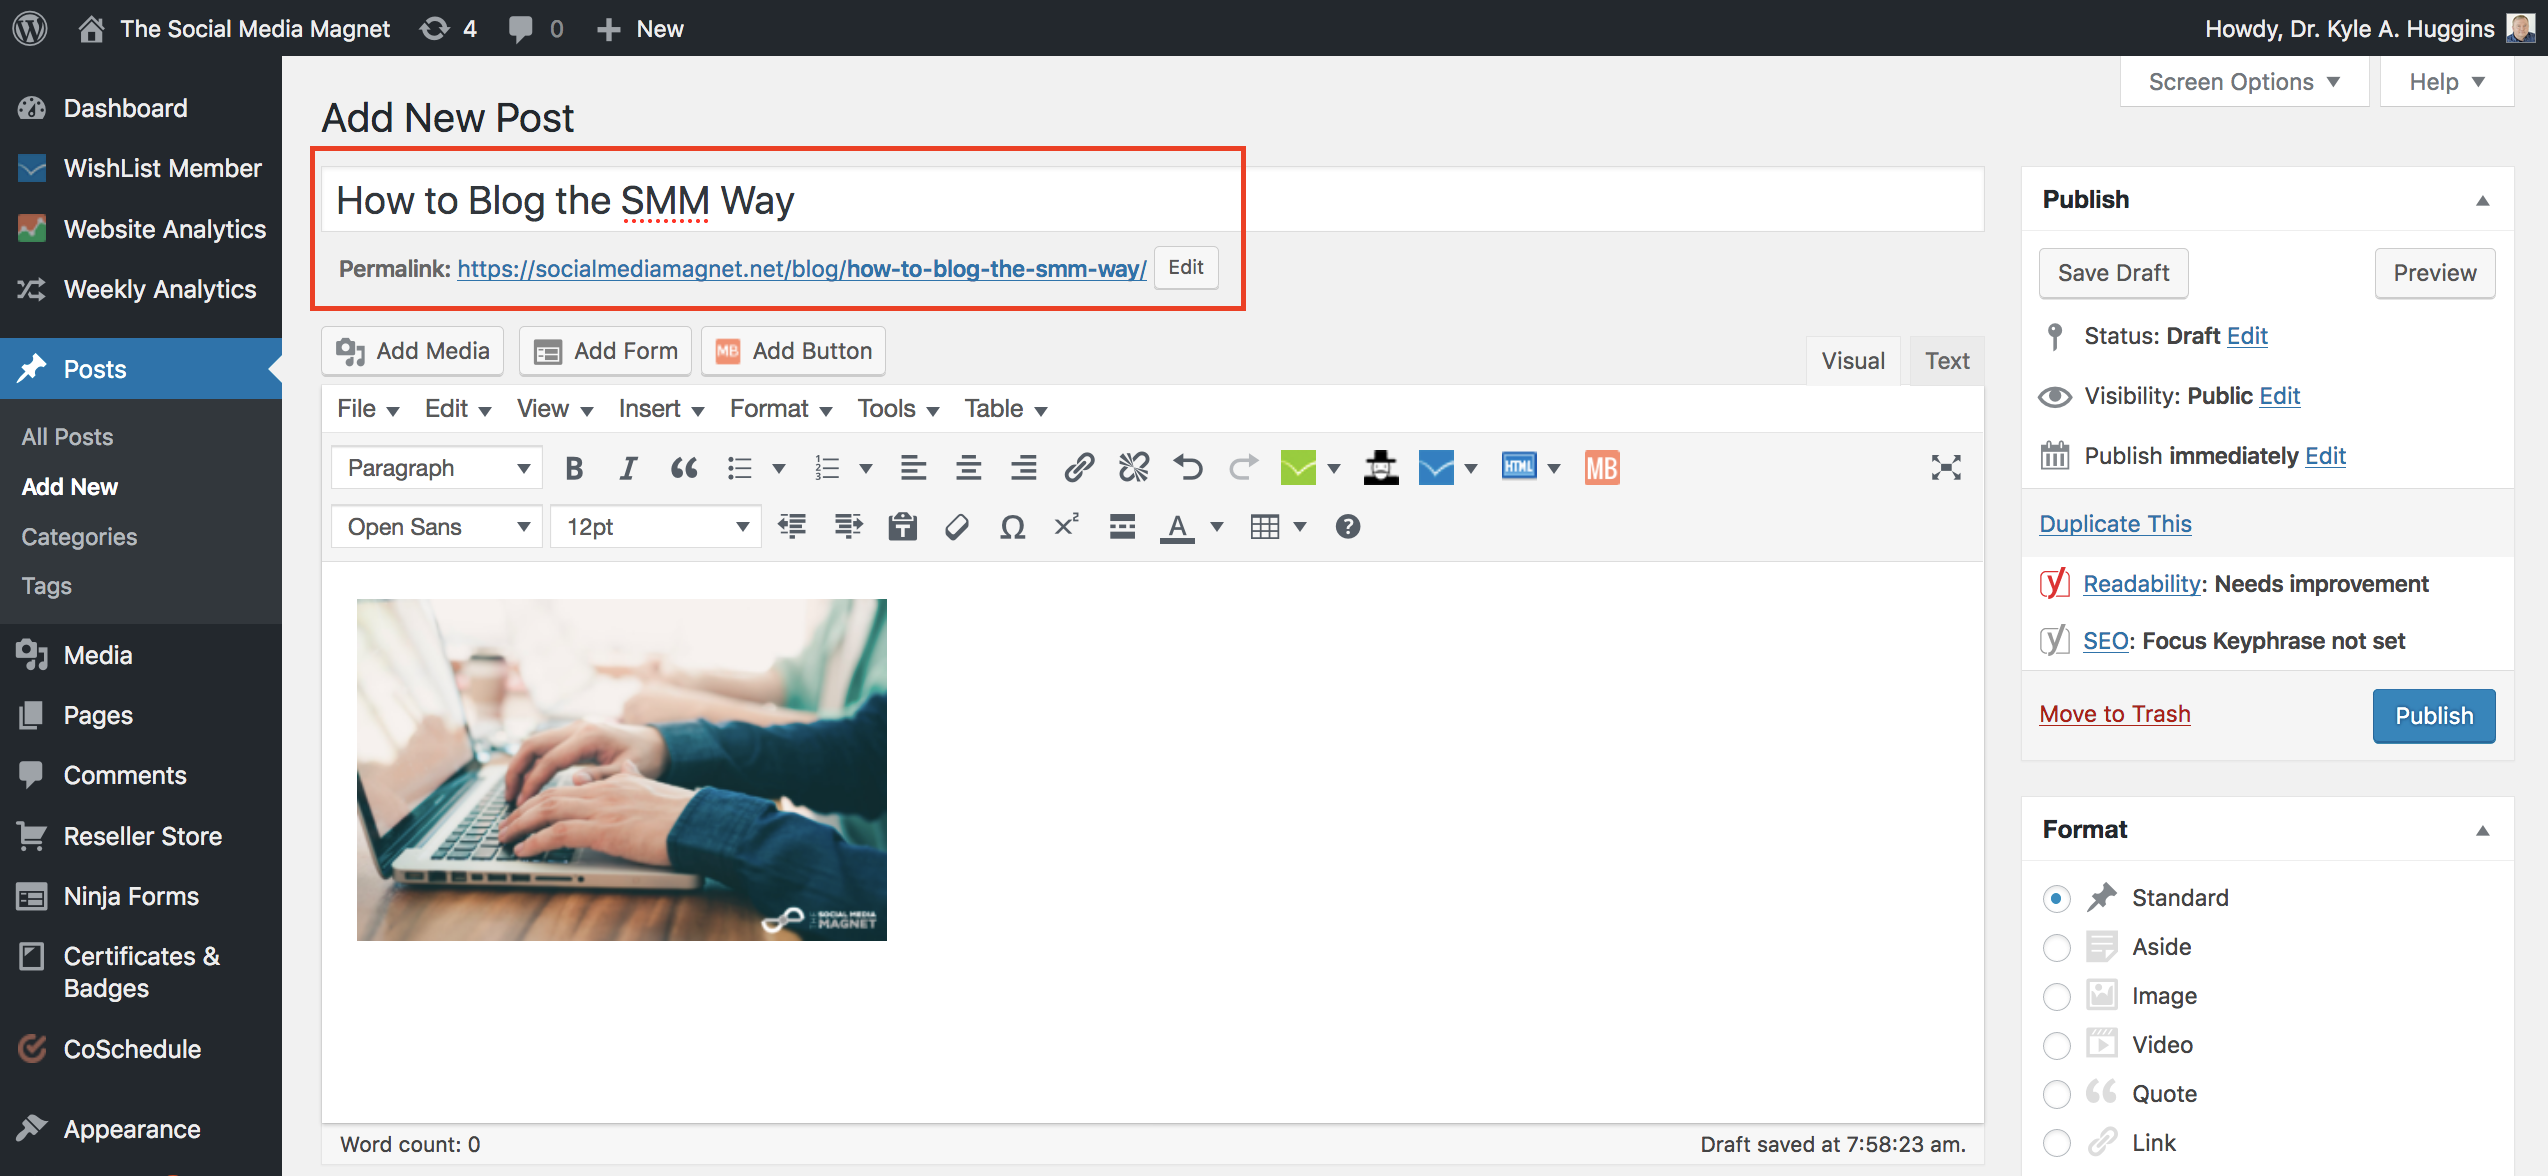
The first step is to title your blog in a creative way that draws attention to the content and brand. As you can see here, we titled this blog, “How to Blog the SMM Way.” This informs the reader that the blog is actually about how to blog but it in a special way according to the SMM Hub and Spoke design. Once you have your title written, WordPress will automatically post a URL link that is identical to your title (after the root domain and your custom permalink format). In the future, NEVER change your title or your URL. Even if you update this same blog later in time, never change the title or the URL. If you do, this will create a broken link “404” error for anyone clicking on a link that was posted before the change. If you need to change the title after you have written the blog, and you have NOT published the blog yet for the first time, then you can still change the title. Just be sure to copy the title and paste it into the URL link. You don’t have to put the dashes as WordPress will automatically fill in the spaces with dashes. But absolutely be sure that the title and the URL are exactly the same before you publish the post for the first time, as demonstrated in the screenshot below. This will keep you from having problems with your posts on some social media channels.
Step 2: Before you type the first word of the blog, post your featured image.
As seen in the picture above, at the top of every blog should be a picture that will be associated with the blog. Make sure this picture is landscape or horizontal format (this means that the picture is wider than it is tall). Usually a 2:1 ratio is suitable for most social media channels, or in other words, the picture should be 800 pixels wide and 400 pixels tall. This is very important because most social media channel graphical requirements are in landscape format. If you were to make a portrait (taller than wide) formatted picture the featured image, then many times the featured image posted to social pages will cut off the person’s head or the picture will be improperly displayed. If you have a portrait image that you just absolutely must use, then use your computer to screenshot the most important component of the picture into landscape format, discarding the rest of the portrait image. Again, always use landscape formatted pictures.
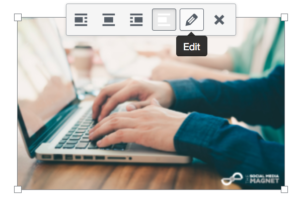
As seen above, once you have this picture placed on page, then you will want to edit the picture by clicking on the picture and selecting the pencil icon to edit the picture. Once in editing mode, we recommend increasing the size of the picture to either “large” or “full size.” This will make the picture size appropriately on the blog when readers visit the blog to read your article. Once you select the size, be sure to save the edits. Clicking the save button will bring you back to the blog page.
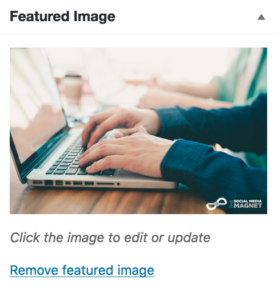
As demonstrated above, the next step is to be sure to scroll the right hand sidebar of the blog page to the very bottom where it says “Featured Image.” You need to click on the “Set featured image” link here and select the exact same picture you posted above from the media page. Click the blue “Set Featured Image” in the bottom right-hand corner to set the featured image. The importance of this step is that your blog page URL is now associated with this featured image. From now on, anytime you post this blog page’s URL in a social media channel, like Facebook, the social platform will automatically bring up the featured image associated with the blog. This makes posting to your social channels much easier. It is also the picture that your blog page archive will demonstrate on page.
Step 3: Set your blog “Categories” and “Tags”
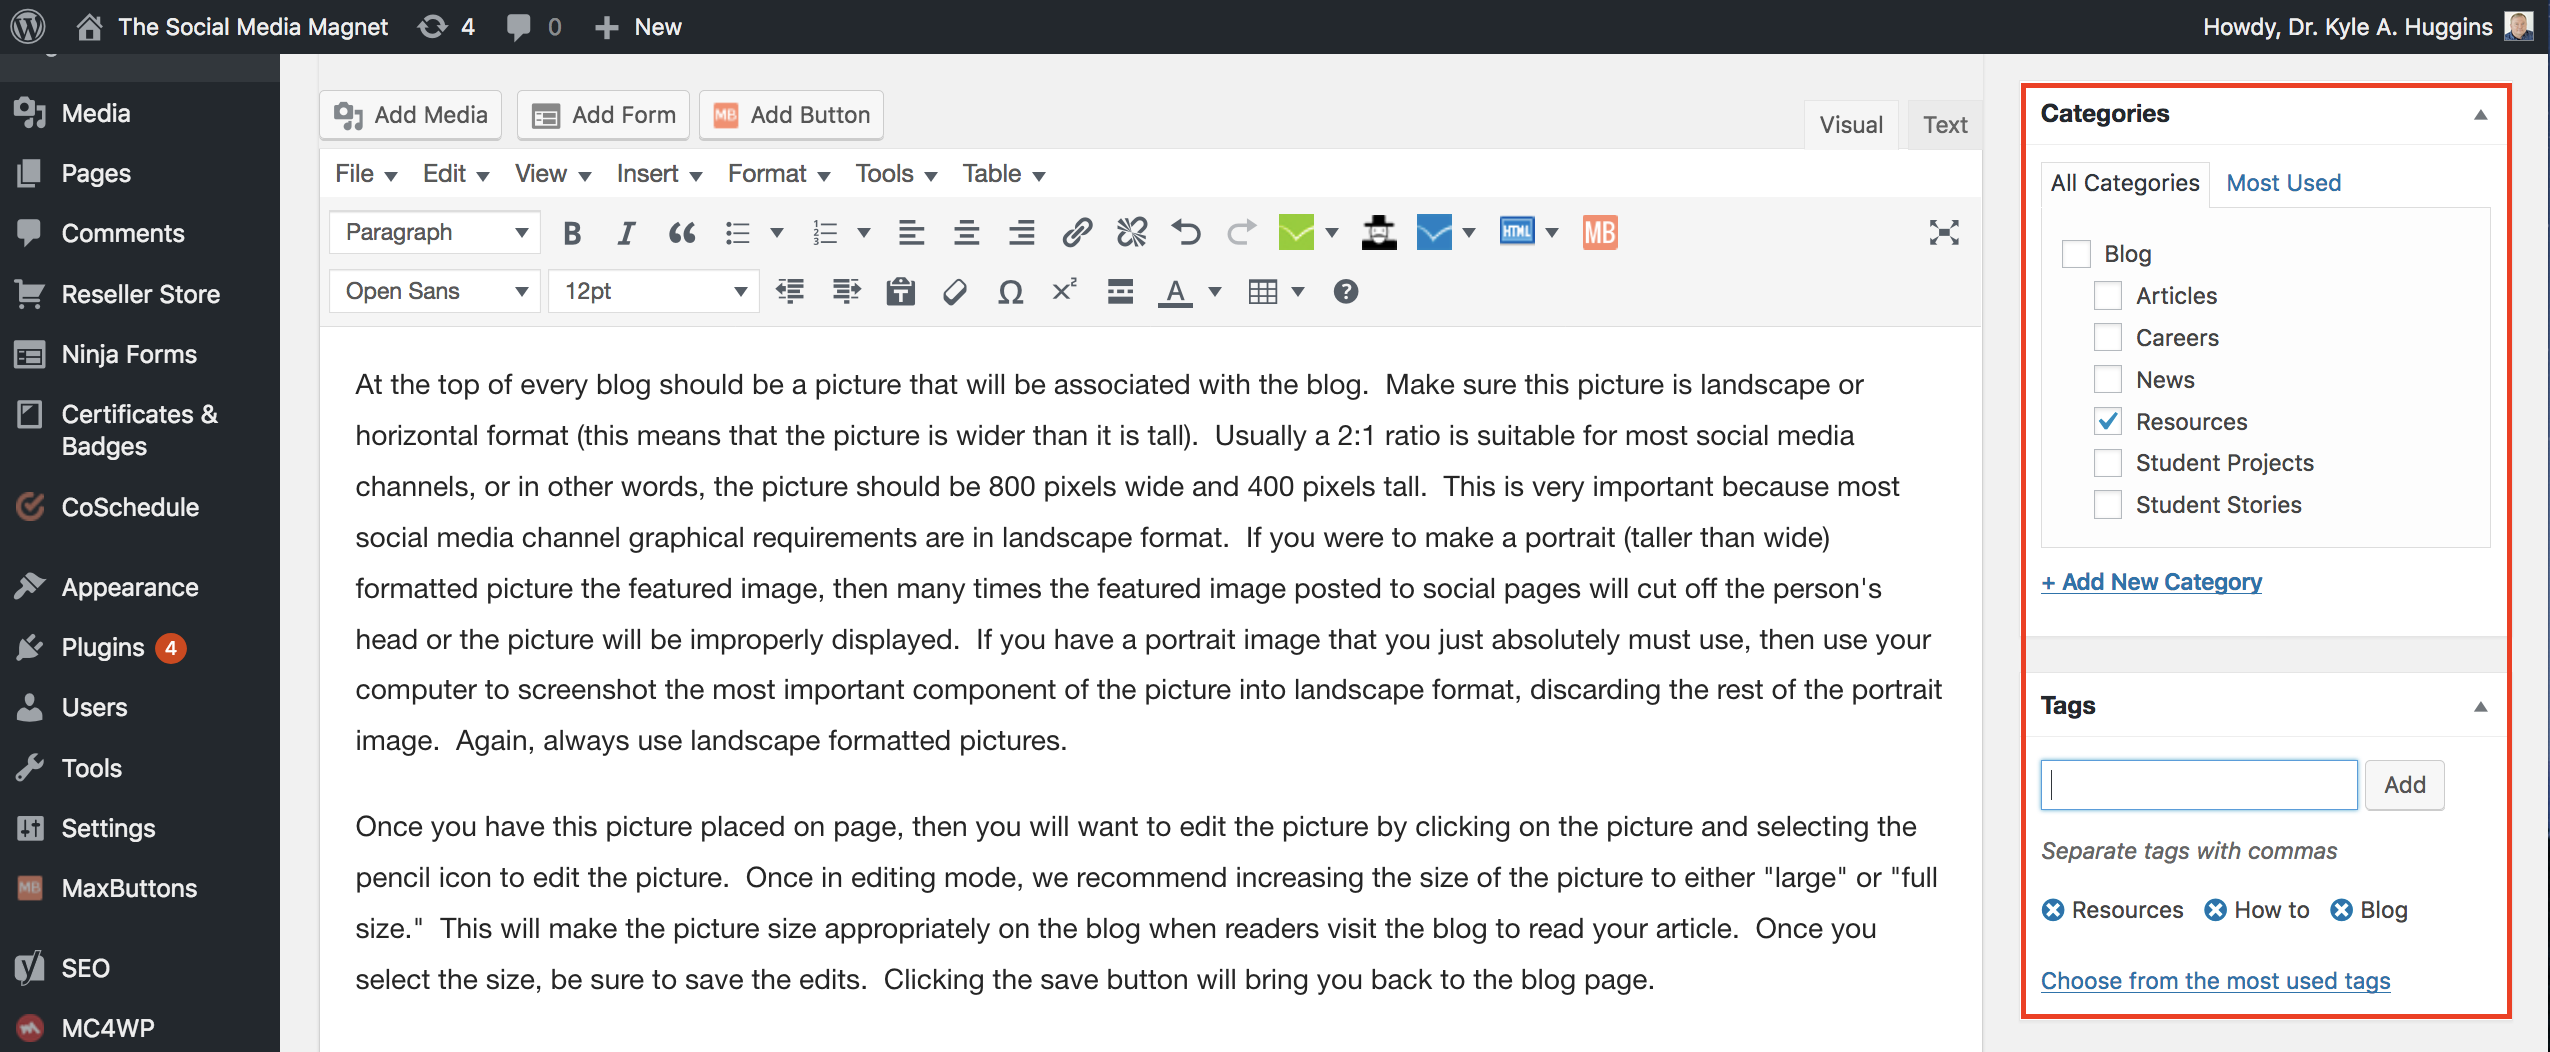
Now you need to assign this blog to one particular category of blog and then assign one or more tags for this blog. First, all of your categories should be the title of your serialized buckets. Remember back to your message matrix that you created four or five buckets of serialized messages, like recipes or workout plans, etc. You need to create each of these categories for all of your buckets by clicking the “+ Add New Category” link in the Categories section of the right-hand sidebar. Once you have all of your serialized categories added, then for each blog that you create, you need to select only one of those categories for each blog. These categories are your INTERNAL way of organizing your own content, for which Google Analytics will track. You can see these categories under the “Content Drilldown” under the behavior tab, as discussed in Chapter 7 of your text.
Next, you need to assign tags to each blog. These are usually the main keywords associated with the blog. I would go ahead and put the serialized bucket or category as the first tag, like “recipe.” Then add a second or third tag as a descriptor for the blog, like “blueberry” and a third tag as “muffins.” In this example, since this blog is a recipe for blueberry muffins, then when your reader is reading this blog, they can use these tags to search all other blog posts that may have the tag “recipes” or “blueberry” or “muffins.” Whichever tag is selected, then the reader would see all of your recipes or all blogs about blueberries or all blogs about muffins. These are EXTERNAL identifiers that readers can search.
As you can see in the red box in the image below, for this blog where we are teaching you how to blog the SMM way. We have selected Resources, which is our serialized bucket of how to’s and instruction sets for professors and students. Next, we created the first tag the same as the category, which was resources. Then we used the tag for “how to” and “blog” for ways that professor or students can search our other “how to” resources or “blog” resources.
Step 4: Optimizing your Search Engine Results
Lastly, we recommend installing and activating the plugin “Yoast SEO” for optimizing your search engine results. We will cover this more in Chapter 11, so we recommend coming back to this blog then. But once you start using Yoast SEO, you will need to start using your most important keyword in the “Focus Keyphrase” section of Yoast. This tells search engines like Google, Bing, and Yahoo the most important thing about your blog. With the free version of Yoast, you only get one keyword, so make it good. However, Yoast will help you in maximizing that keyword by giving you pointers on how many times to use it and where in your article. If you article is not maximizing these opportunities, then Yoast will tell you what you need to add to make the keyword most effective.
Additionally, Yoast will help you the “Readability” of your blog. It use the Flesch Reading Test to score you on readability and will provide you grammatical and sentence structure help within its analysis. This will help you consistently write better content and maximize your use of the English language by instructing you about active vs. passive voice, subheading distribution, sentence length, etc. For those of you who are not great writers, it will drastically improve your content, if you use the analysis provided.
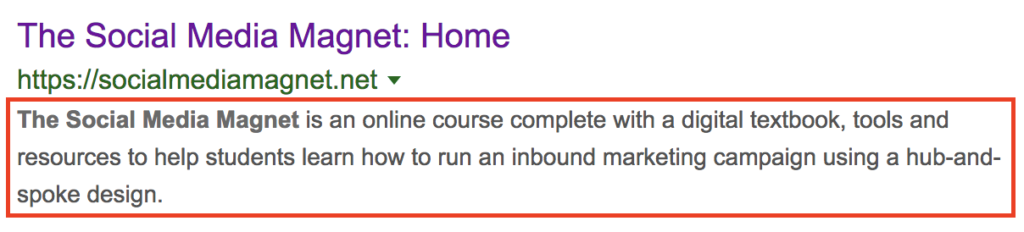
Lastly, Yoast will instruct you on writing a metadescription snippet for your blog. This metadiscription is what you see in the Google search window when you search. For example, the text in the red box below is the metadescription when you search “The Social Media Magnet.” Yoast will allow you to design this metadescription for each page and post on your website.
Step 5: End the blog with a Call-to-Action
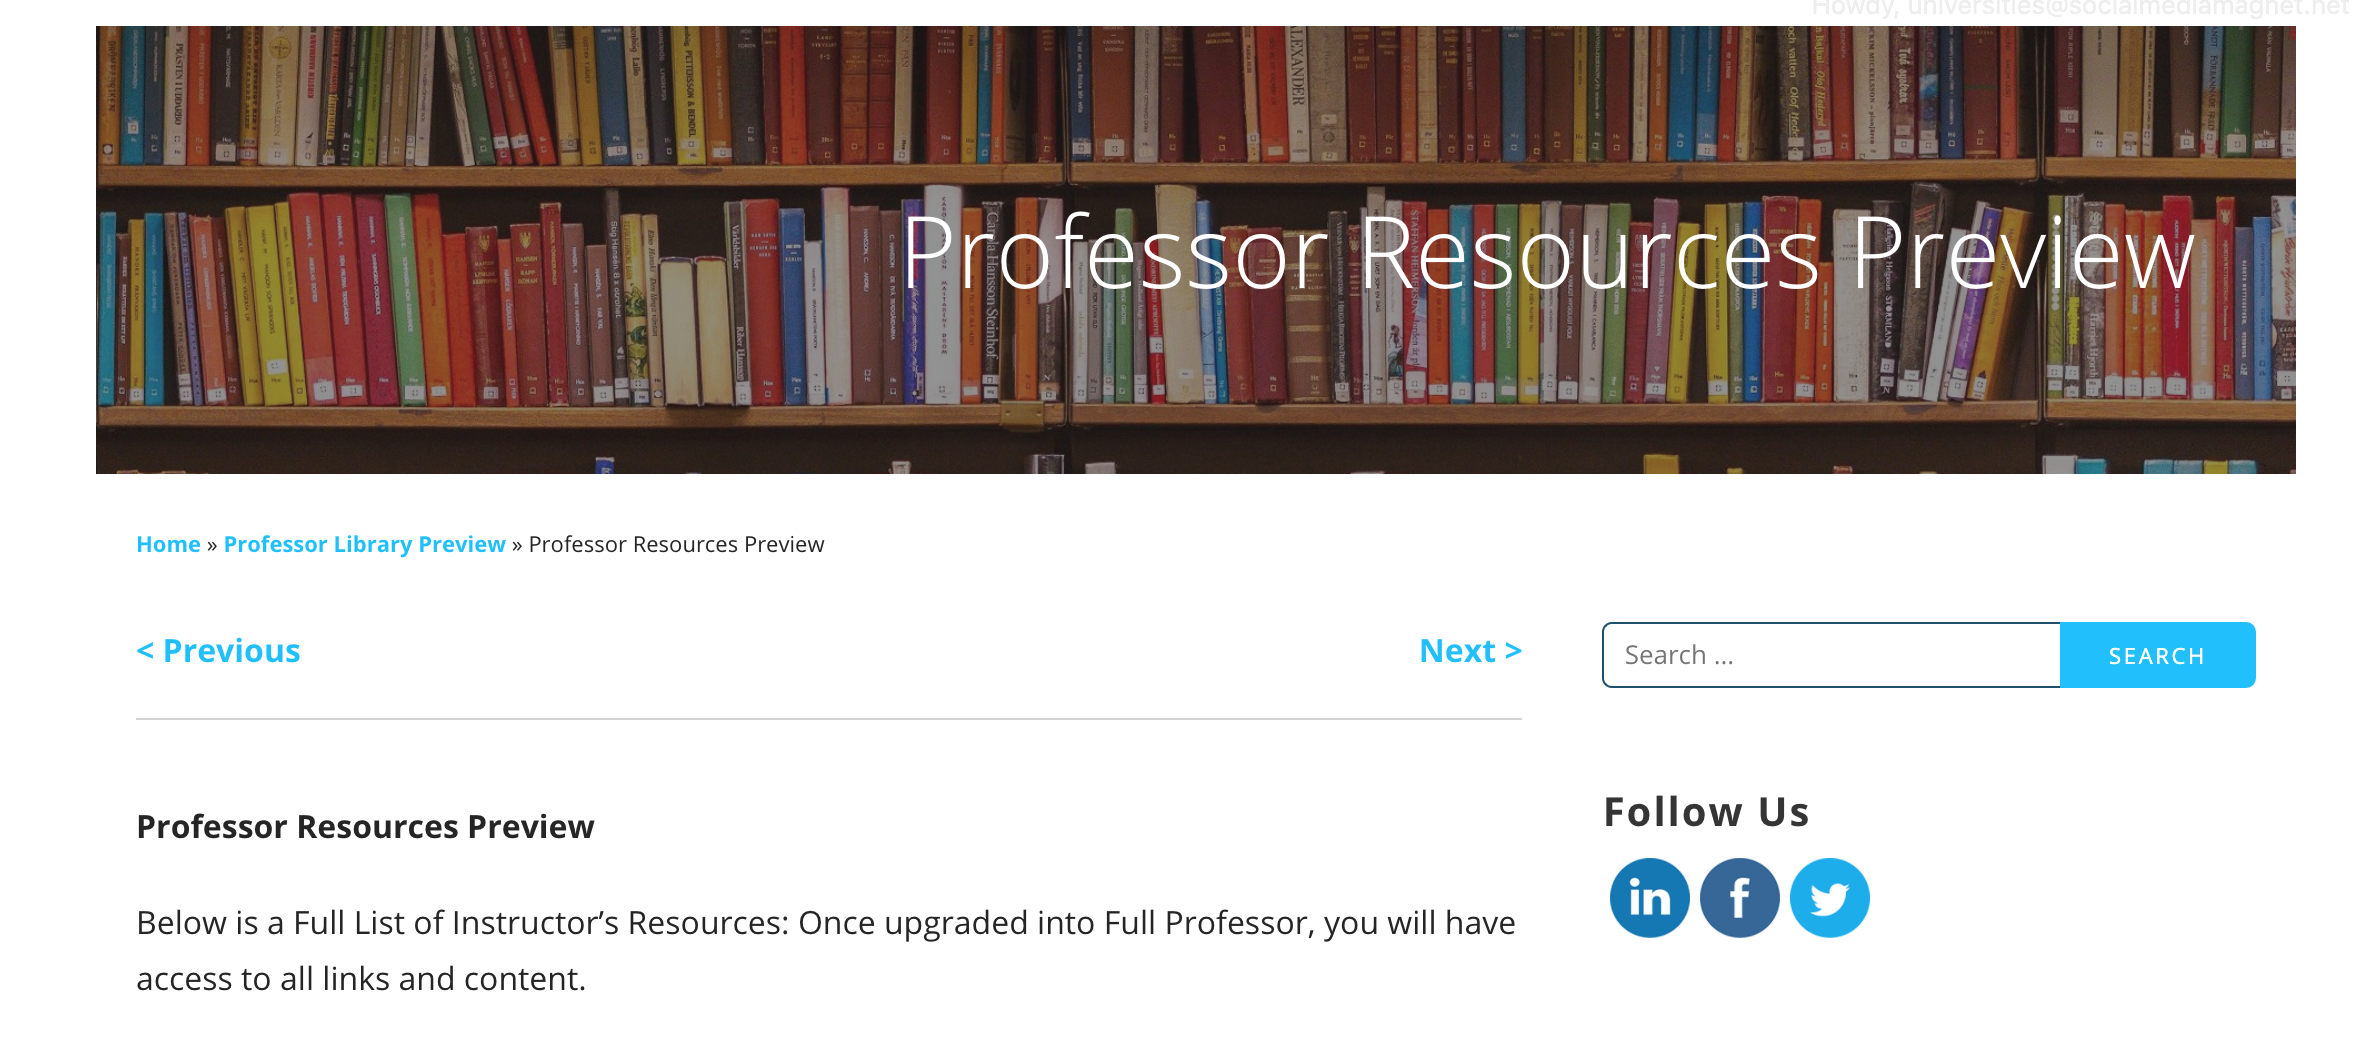
In every blog that you compose, you should lead the readers to some call to action. You will notice that each of our blogs to our target market (professors), we will always have a series of links for them to go somewhere and do something on our site (see example here). We NEVER want to have a reader read a blog and then ask himself or herself, “Now what?” Always be sure to lead them to the next page, then the next page, and then the next page. Don’t ever let a reader stop moving from page to page. Remember, pageviews is a measure that you are graded on within the practicum. We want those readers to keep moving from one page to the next. This process is created by having a call-to-action at the bottom of every page or blog post, even if it’s as simple as moving them to the previous blog in the series.
Step 6: Double check all of your settings and then Publish or Schedule your post.
Lastly, you need to go back and double check all of your settings. Most importantly, make sure that your title and URL extension (after the root domain and customized permalink format) are exactly the same. Next, be sure to check that you selected your featured image, category and tags, and if applicable, have set your SEO metadescription snippet, keyword, and you have green smiley faces for your keyword and readability analysis, which means you have optimized both. Once these checks have been completed, it is now time to either PUBLISH or SCHEDULE your post. If you are creating content in advance, then you can schedule your post to be launched at any time of the day. As with the editorial calendar that you created recently, we highly recommend that you not only PLAN out your content 30 days in advance, but that it is CREATED and SCHEDULED thirty days in advance. The first 30-days of your content calendar in the real world is always “locked in” as we say, this means that anyone in the marketing group could go online and see the post already created and scheduled within the content management system.
Step 7: Start posting your new blog to your social media channels (and email if applicable)
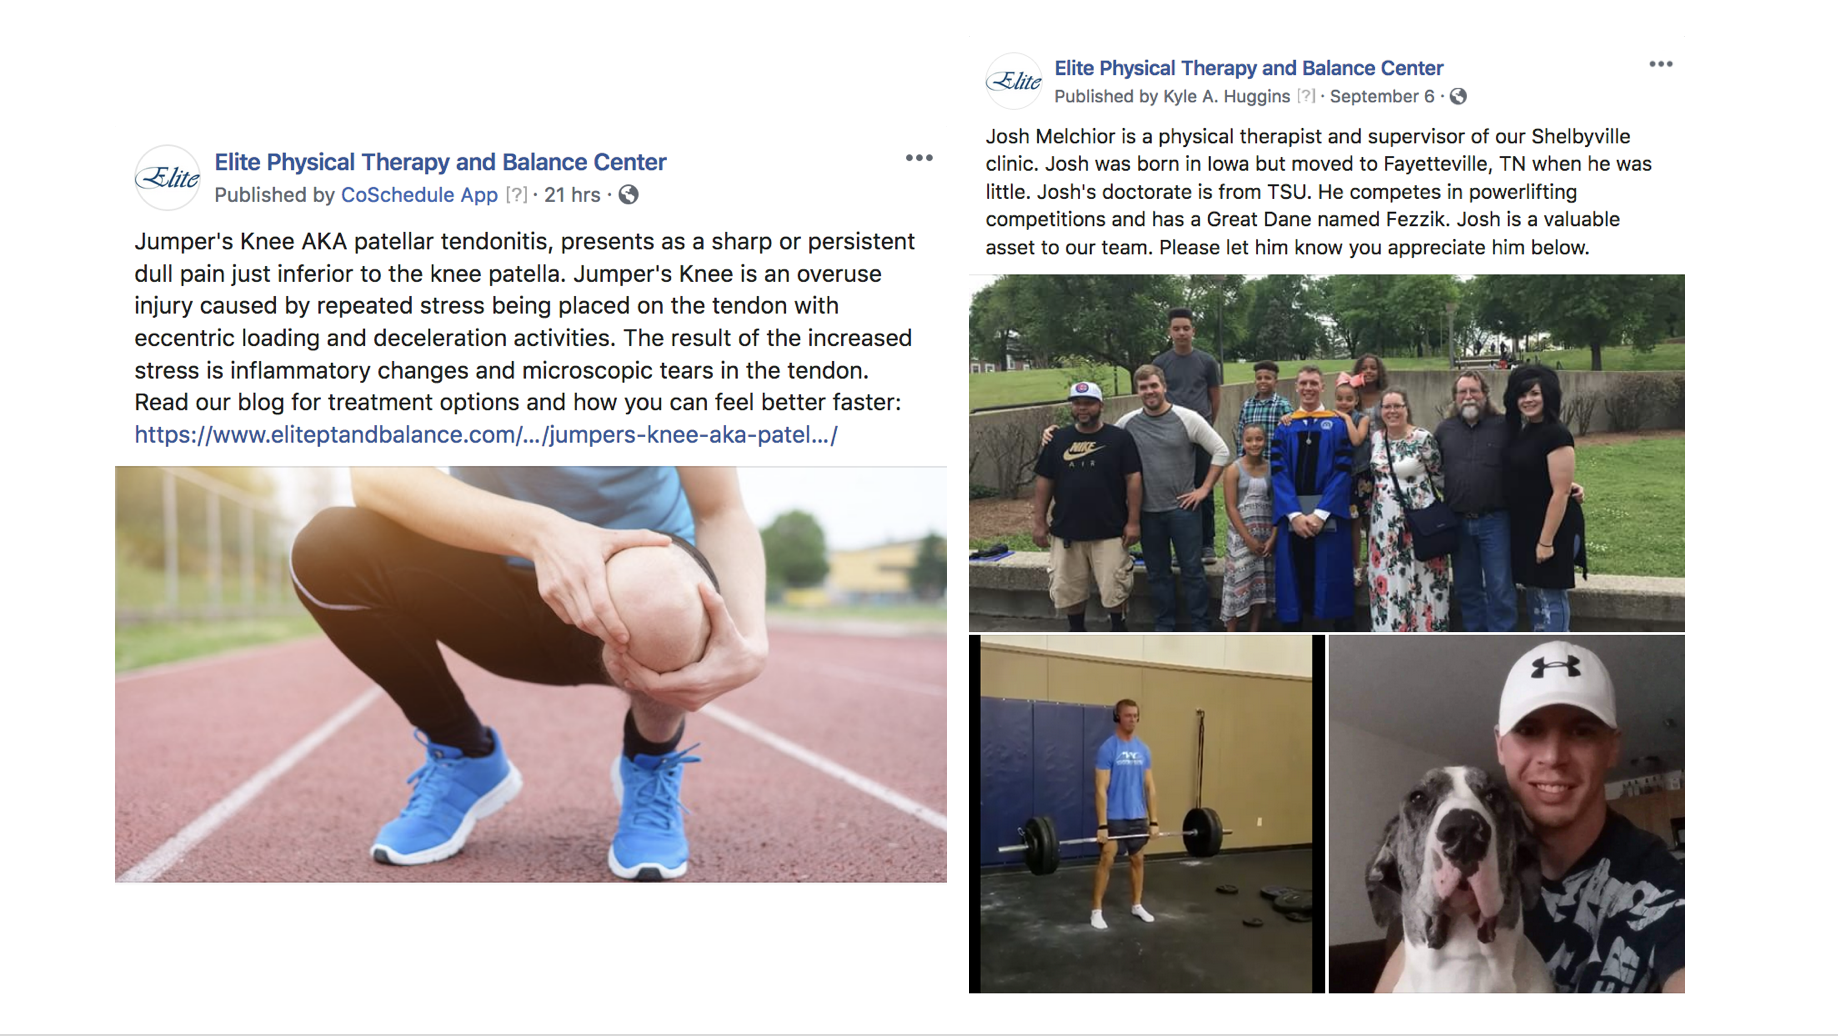
Don’t forget that you now need to go market your new blog in your social channels. Now that you have created your fantastic and informative blog, it’s time to go tell the world. If you don’t tell anyone, no one will come! Go copy your blog’s permalink and start posting it to your social media channels along with a 1-2 sentence hook to drive readers back to your website.
Now we will practice what we preach in Step 5:
If you are a college professor or student just becoming familiar with The Social Media Magnet, please watch our 28-Minute Webinar explaining how we teach college students to create and run inbound social media campaigns. If you are interested in considering The Social Media Magnet for your university, we have a Professor Preview function that will allow you to see and work with some of the content that students like your students will use. If you are already in preview, which many of you are, and you are ready to commit to using our curriculum in your next semester’s class, then fill out our Commitment Form to get on-boarded and prepped for your next class. Or if you just have some general questions, feel free to Contact Us. We would love to assist you however possible.
1 thought on “How to Blog the SMM Way”
Comments are closed.